
MORE PREDICTABLE GROWTH. MORE PREDICTABLE YIELDS.
Extend your growing season with a market garden polytunnel
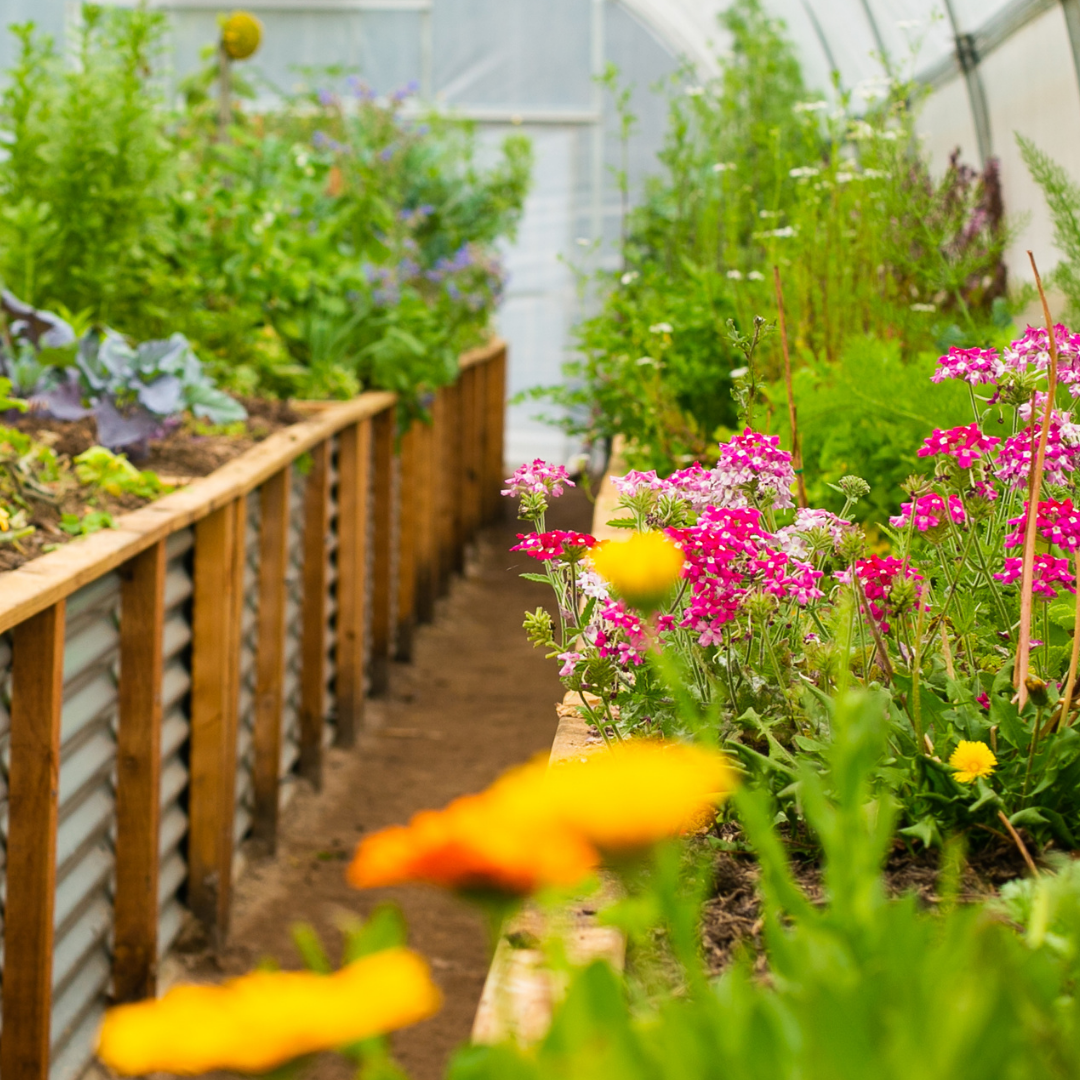
Days of extended rainfall, unpredictable weather conditions, competing with pests and airborne diseases all affect your plants ability to thrive. And ultimately, your bottom line.
Protected growing areas offer you the ability to grow more predictably, control the conditions and optimise yields, no matter the space you have available, and the time you have to contribute to their growth.
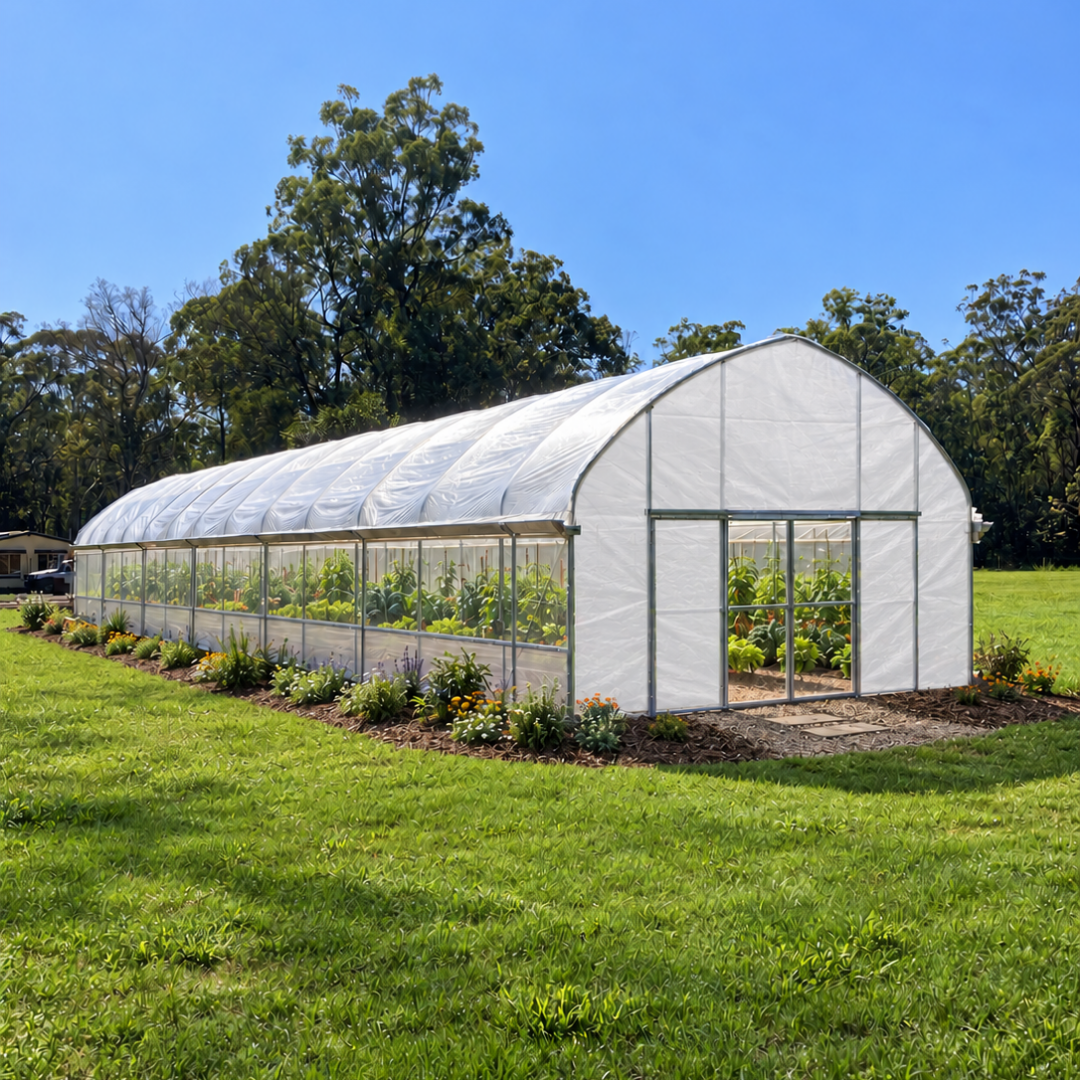
The Rural GROW Tunnel combines a Solarweave cover, roll-up sidewalls with insect or shade net side walls to protect from pests, while allowing adequate airflow. Sliding doors at both ends allow for easy access, and guttering enables you to harvest water from the tunnel roof, creating a closed-loop system. Explore how these features work together, what to plan for your site and whether a Rural GROW Tunnel suits your growing goals.
Ready to explore what’s possible in your space?
Embrace the joy of home gardening, savour the taste of freshly picked produce, and relish the savings on your grocery bills.
About the Rural GROW tunnel
Width: 6 metres / 8 metres
Lengths Available: 7 metres - 49 metres (on the odd metres)
Includes gutters
Doors: 2-metre (w) door at both ends
Get an instant quote
Introducing…
The Rural GROW TUNNEL
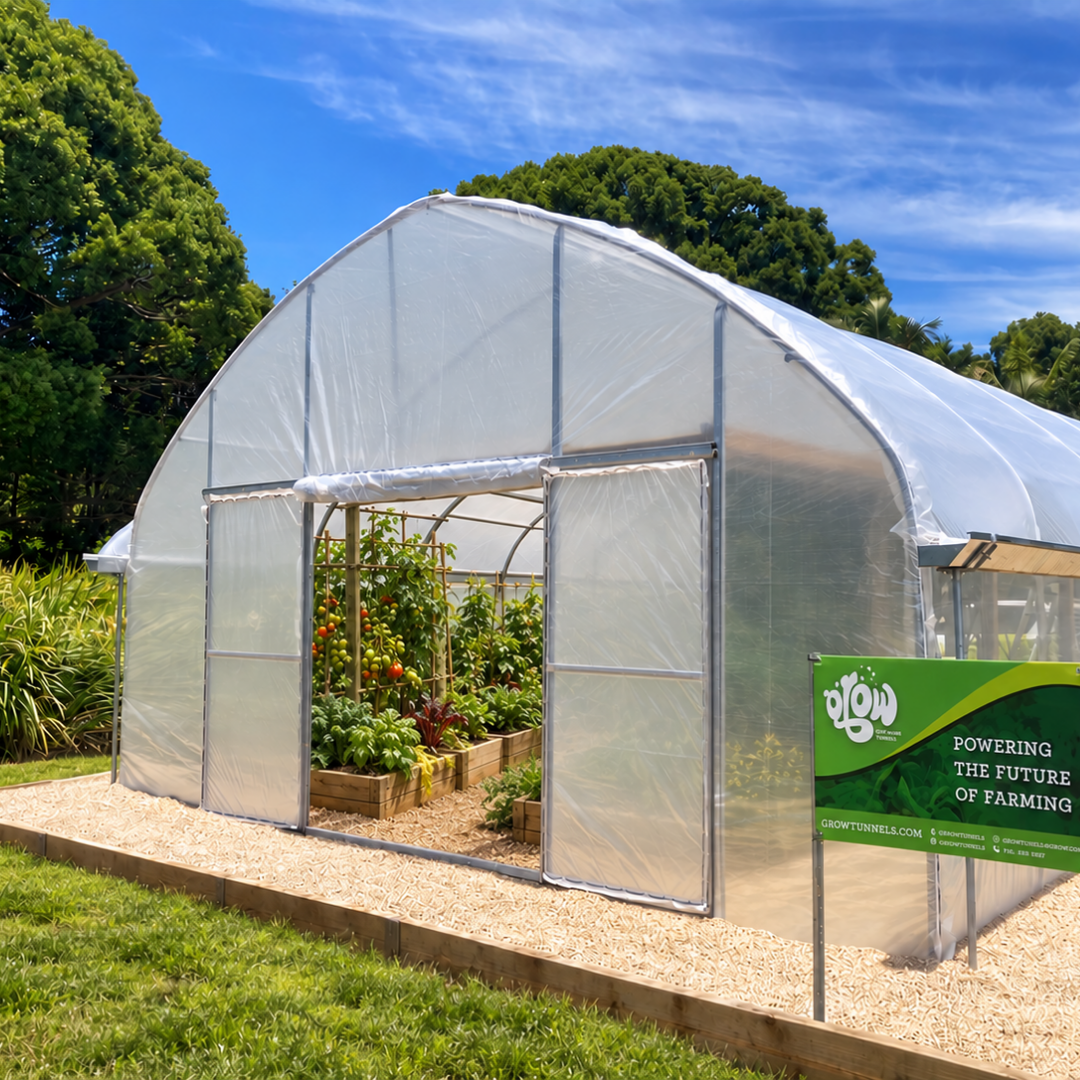
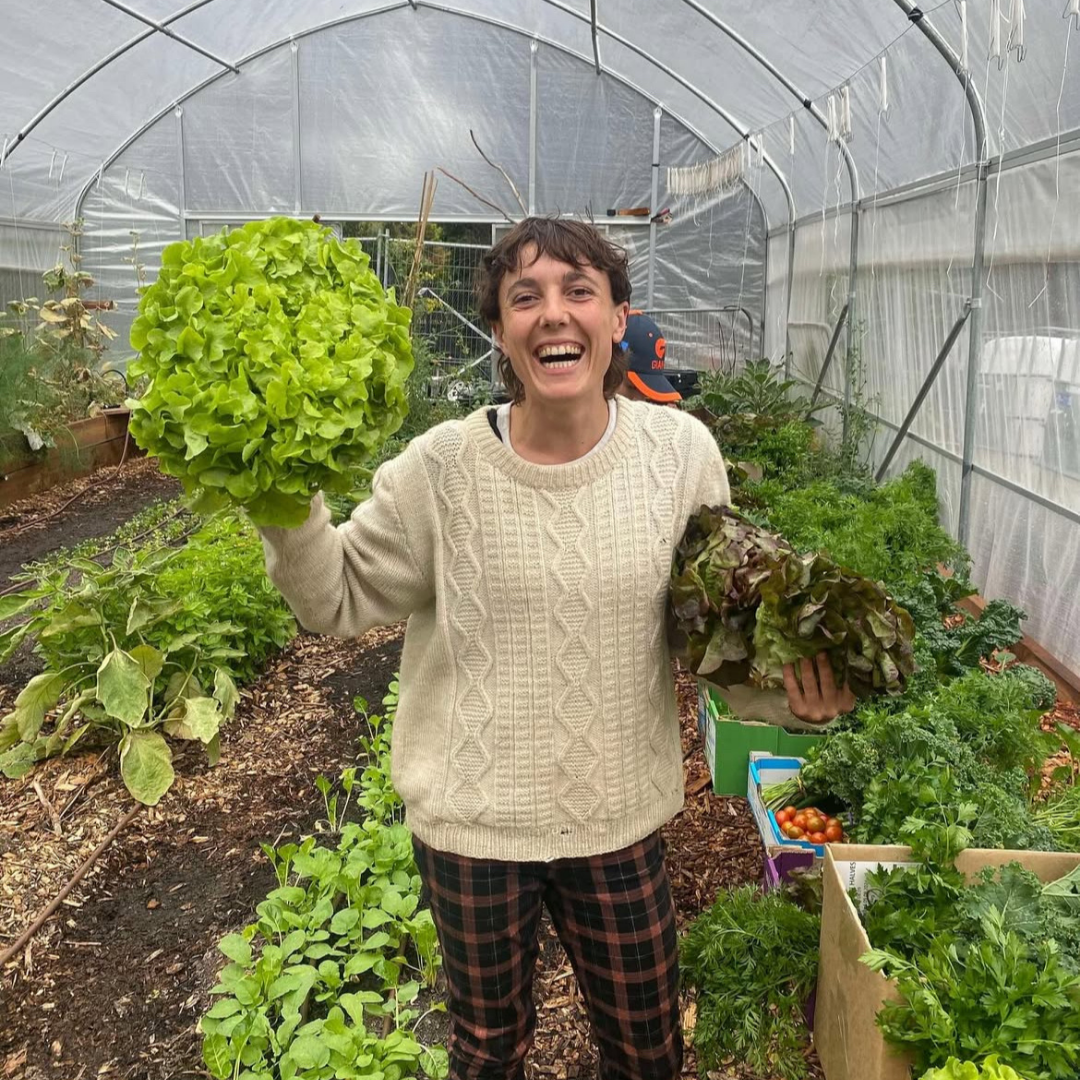
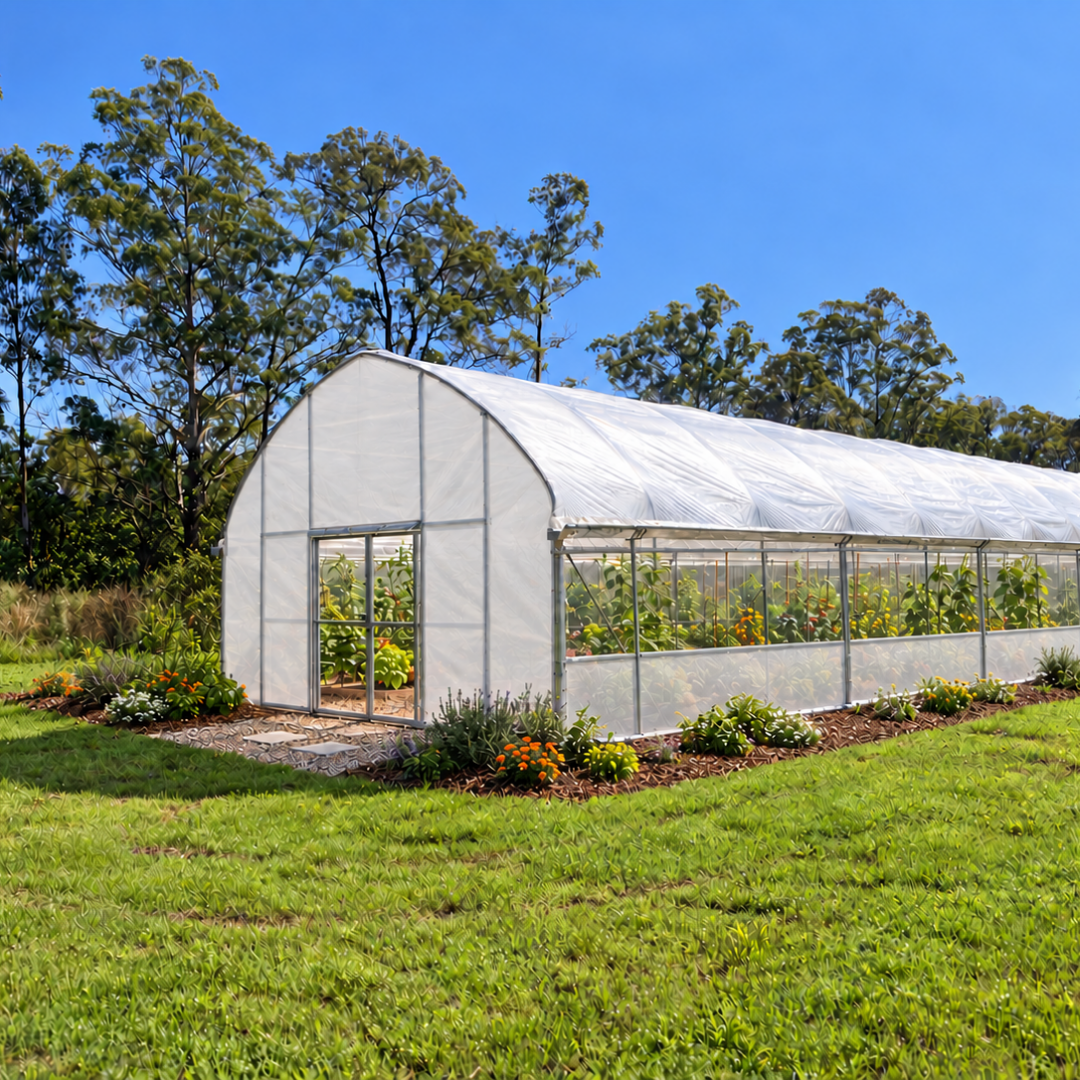
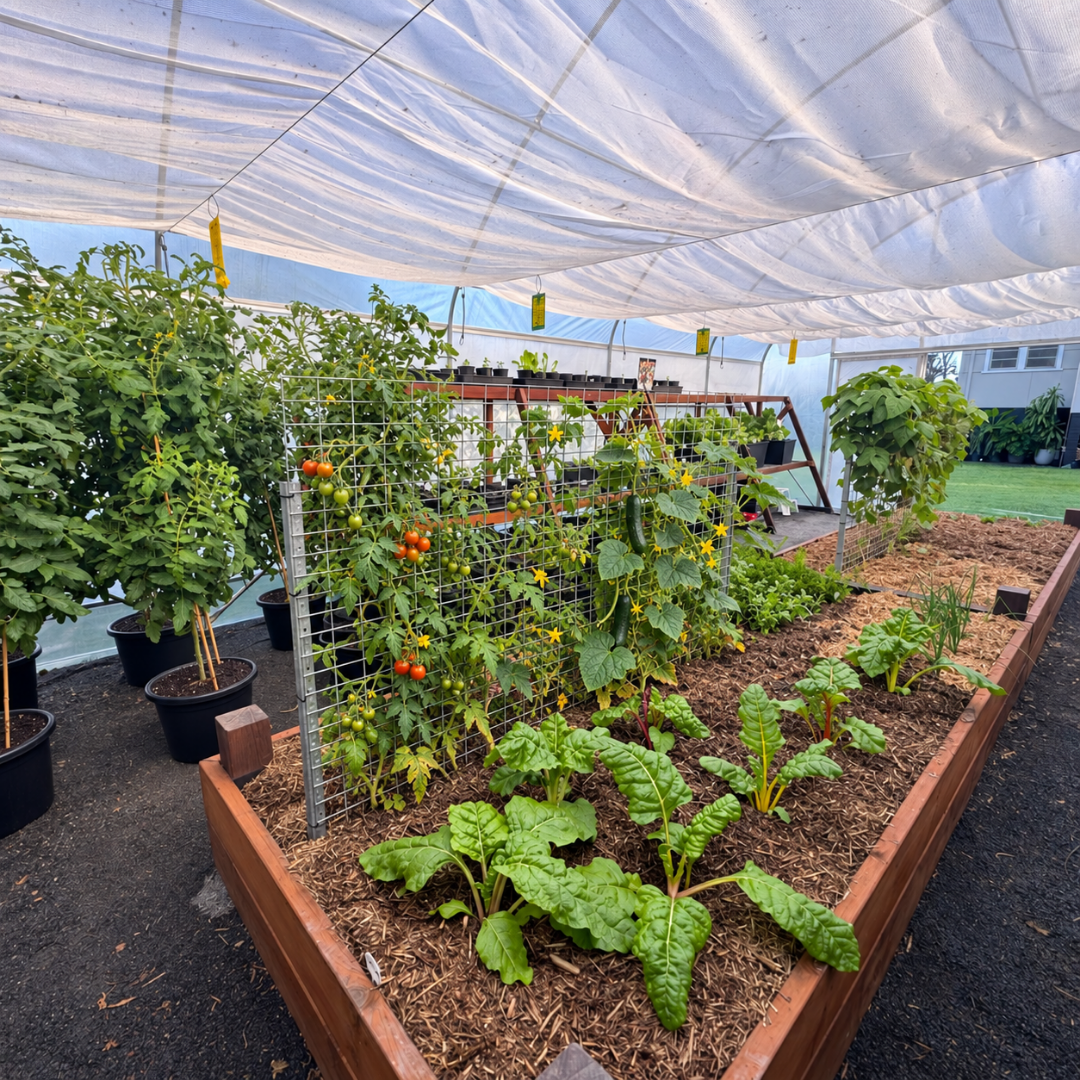
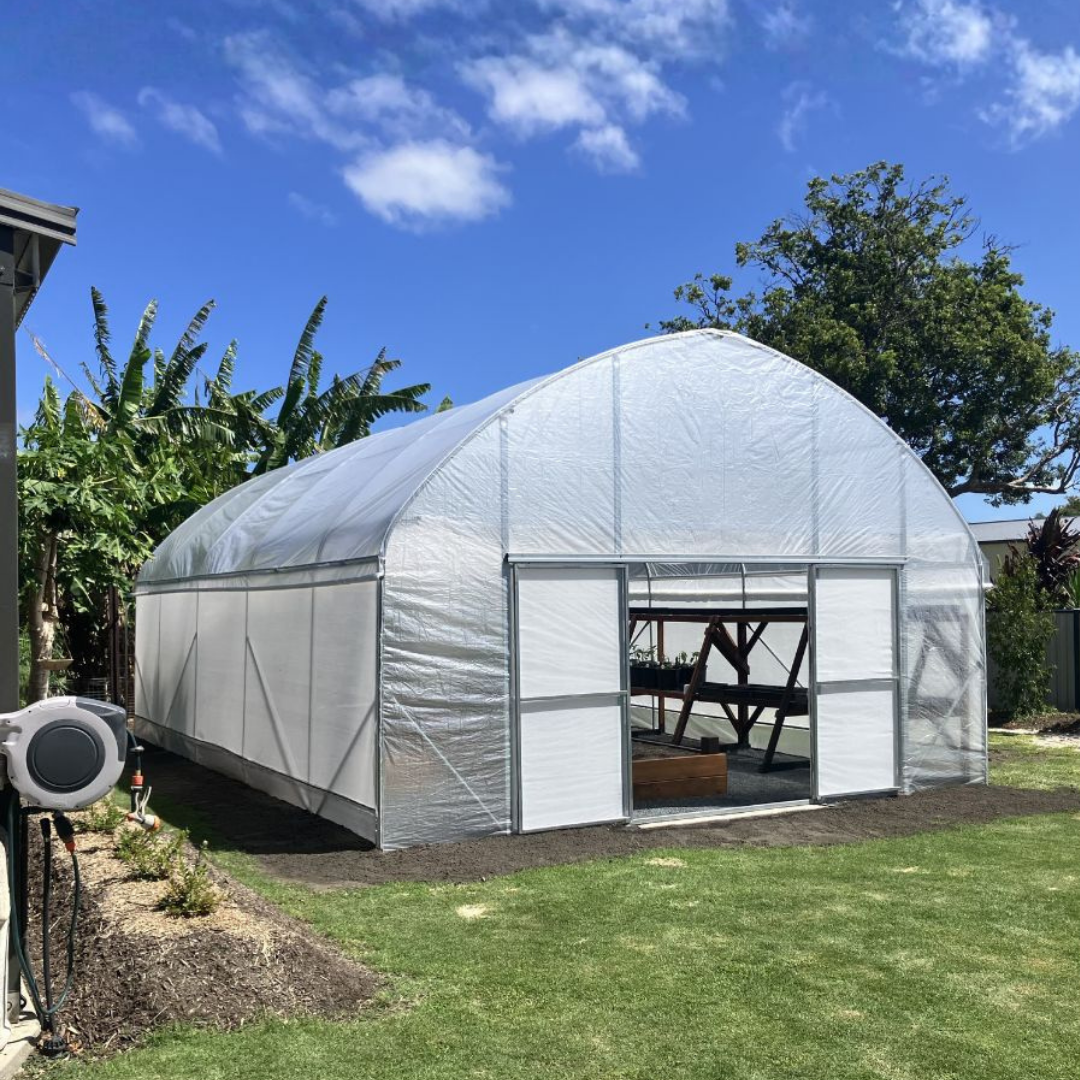
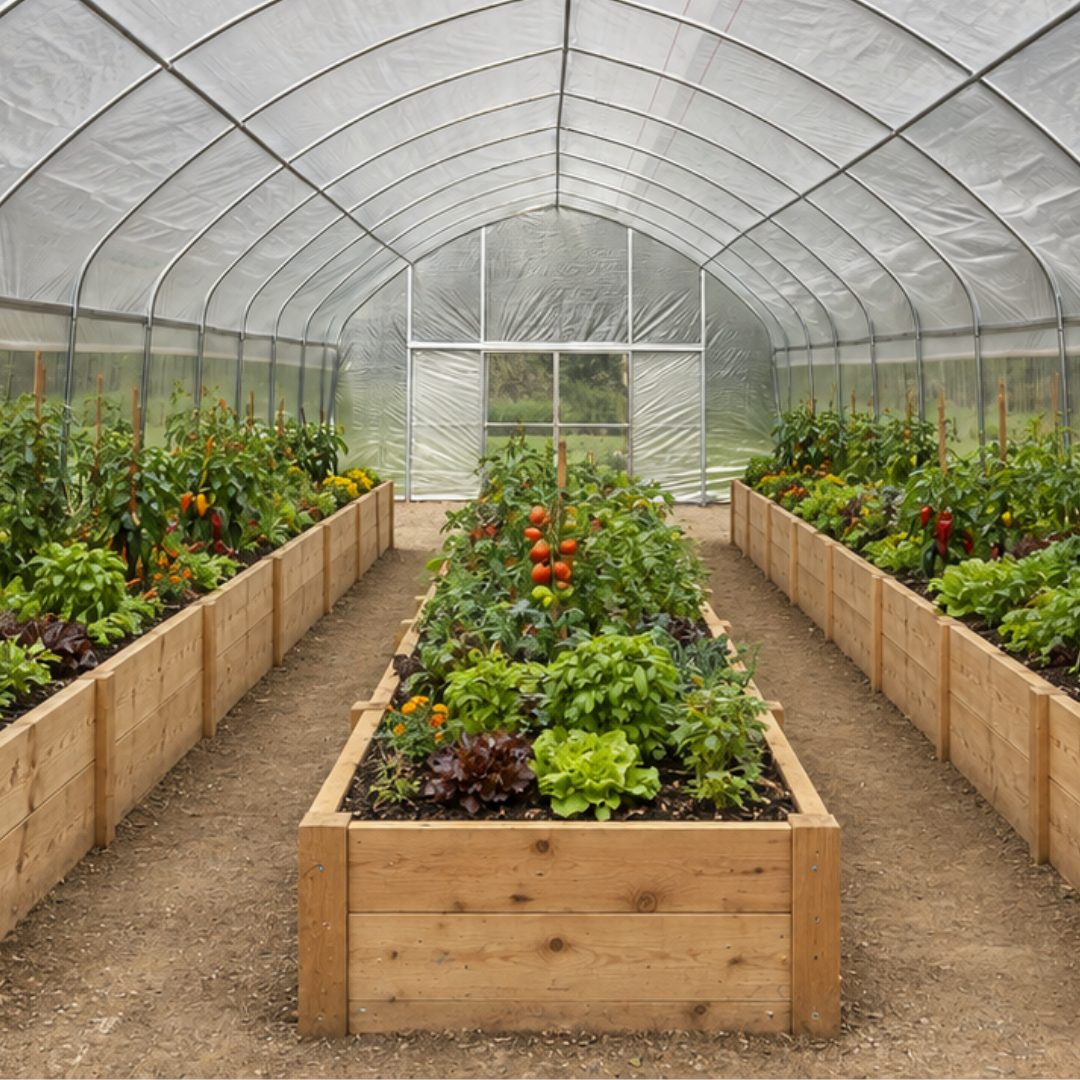
Ideal for larger backyards, acreage and growers who want more space and growing capacity.
The Rural GROW Tunnel is available in 6 metre or 8 metre widths, giving you a larger growing footprint to work with. The included gutters create a closed-loop environment allowing you to harvest rainwater for your tunnel’s irrigation purposes.
The Rural is the perfect solution for those with a little more space to play with, and those wanting to grow enough food for themselves, their family and maybe even some friendly neighbours to enjoy!
See a Rural Grow Tunnel
in a real growing project
[Grower name and location] needed to [verified challenge or goal]. They selected a [confirmed Rural width, length and configuration] to accommodate [actual layout or working requirement]. Their experience highlights [specific verified observation about access, ventilation, cover or guttering].
What does a market garden polytunnel do?
A market garden polytunnel provides a covered growing area where you can plan crop layout, irrigation and ventilation, controlling inputs and managing growing conditions according to your climate. The commercial-quality Solarweave cover keeps rain from passing through the cover, while roll-up sides let you adjust airflow through insect mesh.
Understand how protected growing works
1
Keep rain off crops through the covered roof
The supplied Solarweave cover is impermeable, so rain does not pass through the material. That gives you a covered crop area where you can plan irrigation around plant needs. Water can still enter through openings or from poorly managed site drainage, so consider the whole site when planning.
2
Adjust airflow through the sides
Roll-up sidewalls allow ventilation through insect mesh. Open the sides as conditions require and monitor heat inside the tunnel. Depending on climate and crops, you may also need shading or fans. A covered space can become hot; ventilation is part of daily growing management.
3
Plan movement from both ends
Sliding doors at each end provide entry and exit points for everyday work. Design beds and paths around sowing, crop care and harvest, and check equipment against the doorway’s clear opening before choosing your setup.
4
Make rainwater collection part of the plan
Galvanised guttering is included on both sides of the Rural. To use roof runoff for irrigation, plan suitable connections, storage and any pumping or treatment your system requires. Those components need to be considered separately from the included guttering.

How other home-growers use their GROW Tunnel
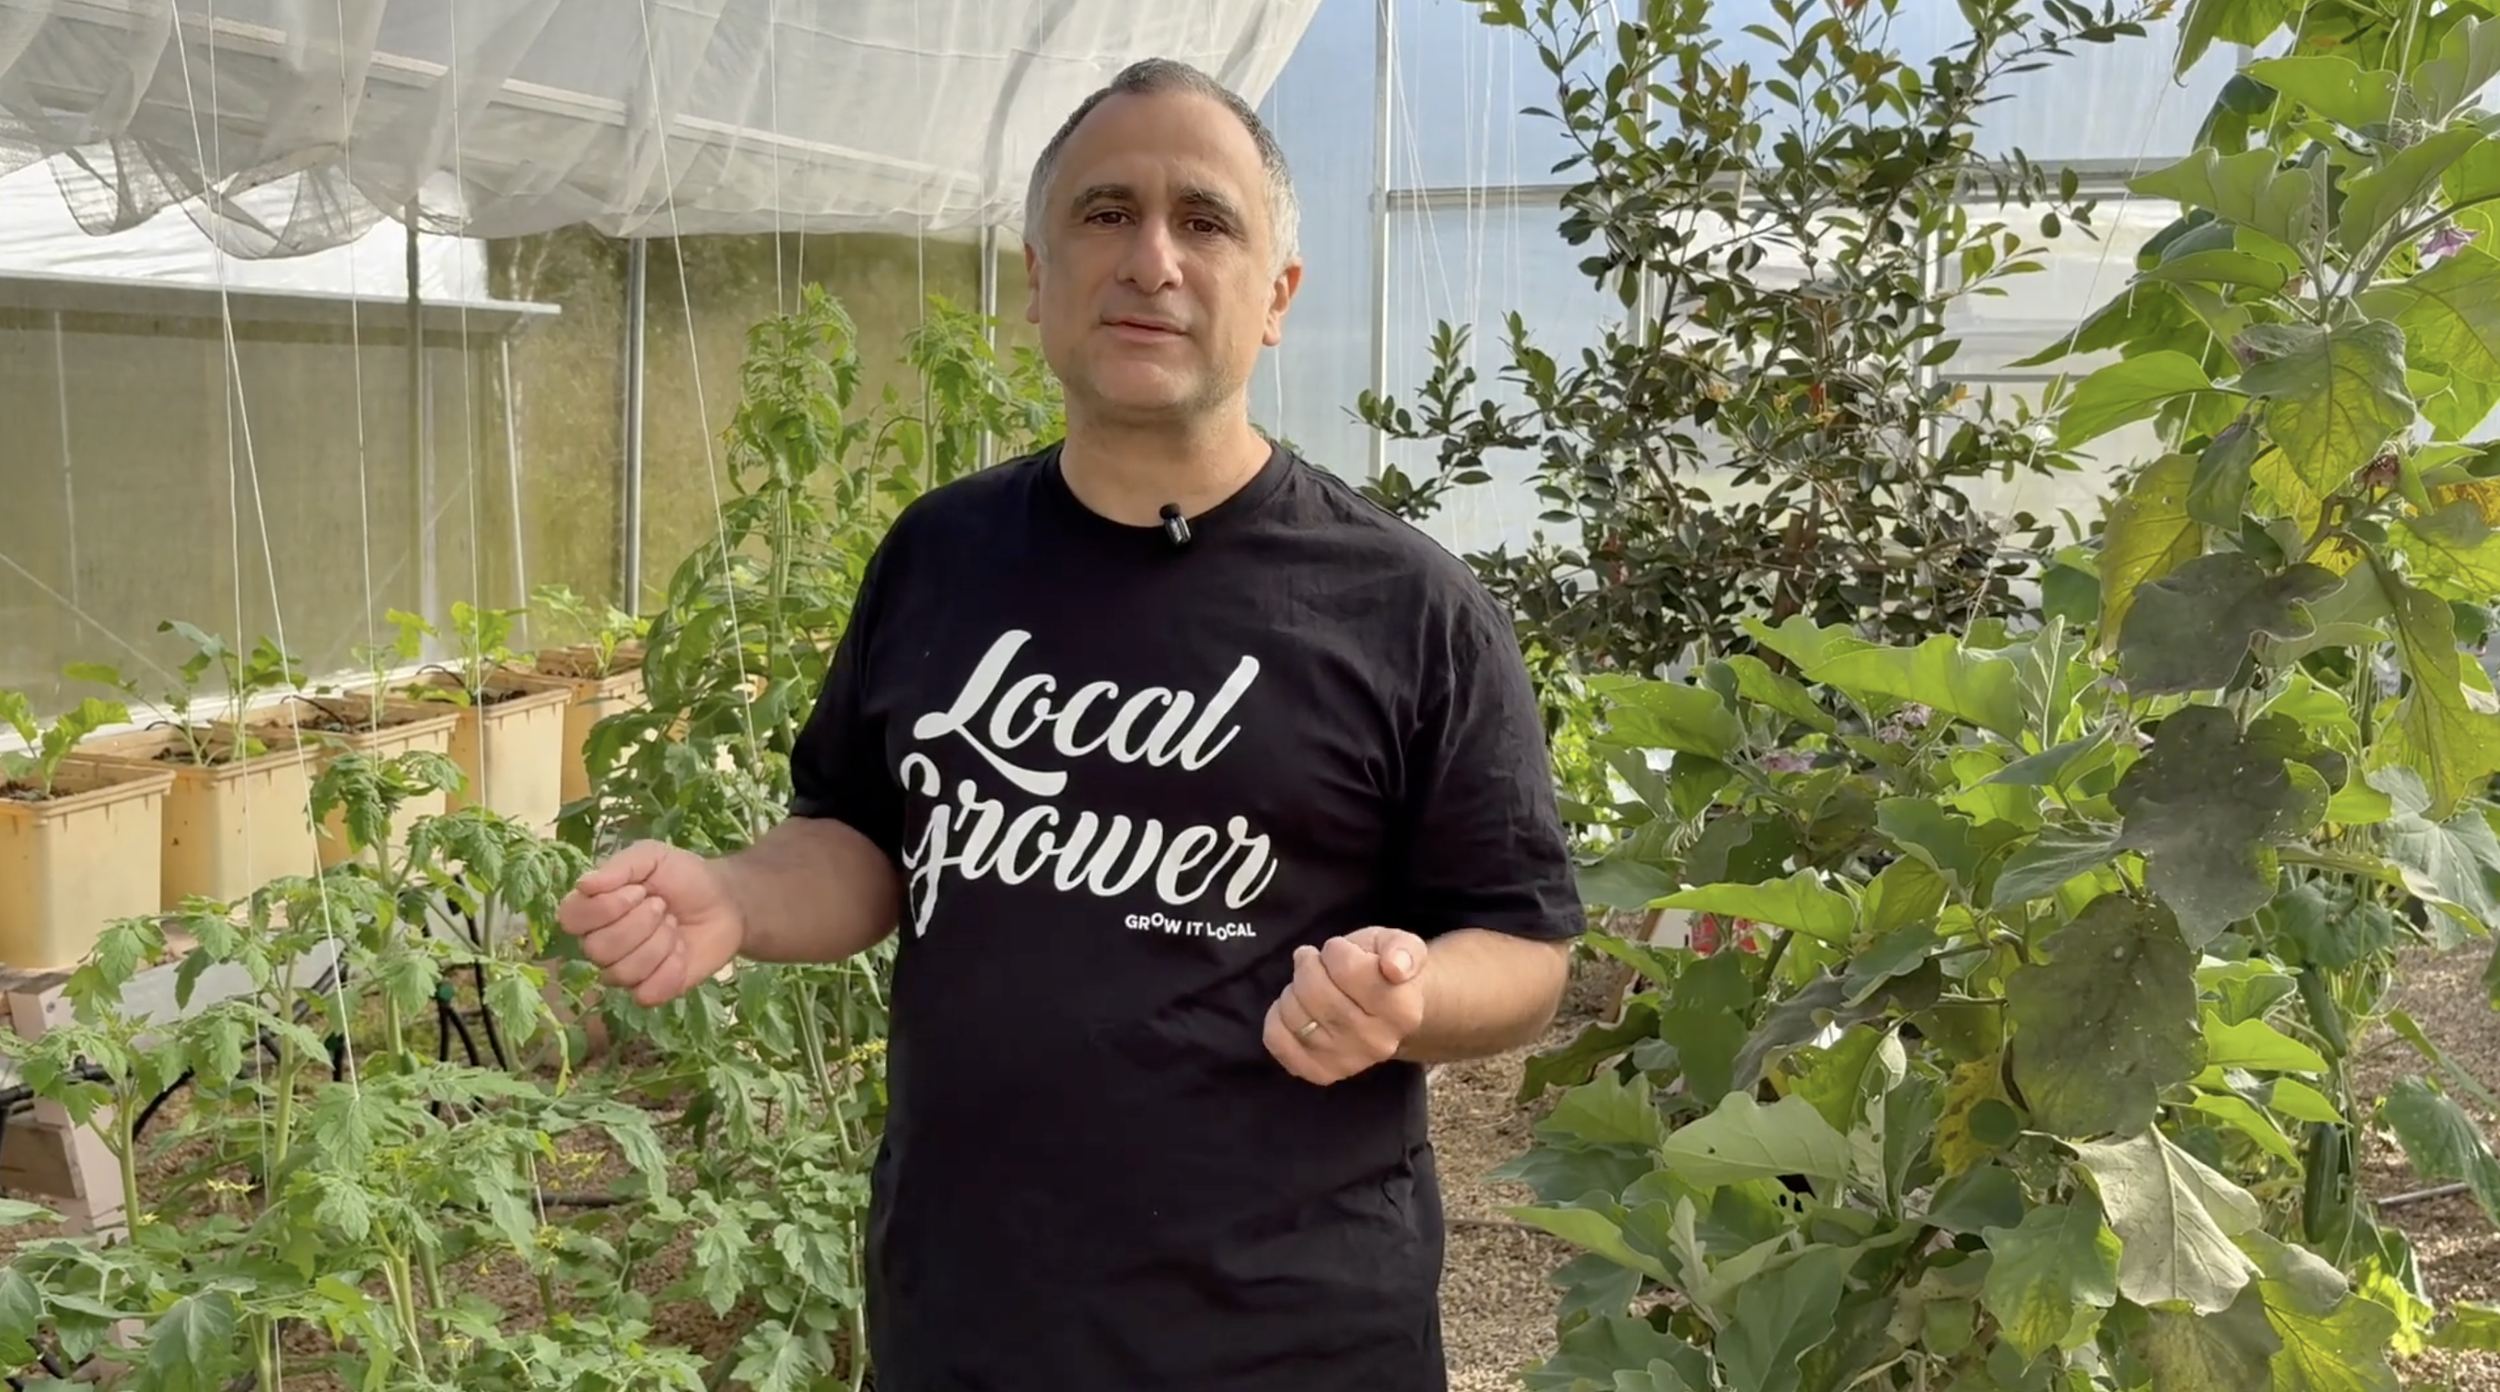
Rami Mini & RURAL GROW Tunnels
As a busy entrepreneur, Rami is not always home to tend to his crops. Having them inside the protected environment of a GROW Tunnel gives Rami peace of mind that his crops aren’t wiped out by the large rainfall that his property in the Northern Rivers often experiences and that there’s always plenty of food for his family and neighbours to enjoy.
Steve Rural grow tunnel
Steve grows in a small urban block by the Maclean river, where he harvests fresh veg from his tunnel (and even fruit from some small fruit trees).
Start with your growing plan
what will you grow?
Deciding on the right tunnel size and model will be largely guided by how much space you have available. Our Mini range is suitable for smaller compact areas, while our Rural can give you an extra 2 metres width to grow with.
What does the site need?
Start by writing a list of what you’d like to grow to start replacing your weekly grocery shop with fresh homegrown produce from your backyard polytunnel. Then consider the space it needs, how long it takes to grow and how many you’ll need on a weekly basis.
Climate and crops
Ensure there’s adequate space around your tunnel area that will allow for maintenance and airflow. Consider where the sun will be on it during the day; your plants will still need sunshine. Avoid placing it below overhanging branches, or anywhere that damage could occur to the tunnel.
temperature and climate
A GROW Tunnel can help you extend your season, but you still need to consider your climate. Adding an internal shade cloth and extraction fan can be useful for hot and humid conditions. Roll-down sides can become useful in colder climates, allowing you to trap heat inside and extend your growing season.
Need some guidance on the best tunnel and size for your needs?
Book a call with our team
Start with your growing plan.
Questions to consider before investing in a polytunnel
-
The main differences are width, height and included features. The Mini is 4 metres wide, making it a practical option for backyard and community growing. The Rural is available in 6 metre or 8 metre widths, with a higher roof, doors at both ends and guttering included as standard.
Both offer roll-up sidewalls for ventilation and can accommodate growing in soil, raised beds or containers. Choose around your available space, growing goals and access needs.
Explore the Mini GROW Tunnel and Rural GROW Tunnel to compare dimensions and download the specifications.
-
Measure your available space, then mark out the proposed tunnel footprint: 4 metres wide for a Mini, or 6 metres or 8 metres wide for a Rural. Allow additional space outside for access, operating the sidewalls, installation and drainage.
Inside, sketch your beds or containers alongside pathways and working space. Check overhead obstacles and make sure the doorway will accommodate your wheelbarrow or other equipment.
Our backyard tunnel planning guide can help you picture your layout. Once you have a size in mind, explore configurations in our instant quote calculator.
-
Start with what you want to grow, your local climate and how you’ll use the space. Consider sunlight, drainage, water supply, access and the time you have for watering and crop care.
Your cover choice matters too. A Solarweave-covered polytunnel suits different growing goals from a shadehouse, particularly when balancing cooler-season warmth with summer heat management.
Consider how you’ll irrigate crops, and where an easy-to-access water source will be. If utilising extraction fans where your nearest power source will be.
Read our Solarweave versus shade cloth guide to understand the options, or explore the Mini Shadehouse if shade and airflow are your main priorities.
-
Mini and Rural GROW Tunnels use roll-up sidewalls to let fresh air move through the growing space. When the outer Solarweave sidewalls are raised, insect mesh or shade net remains across the openings, allowing airflow while helping reduce pest access.
Adjust ventilation as the weather changes and monitor conditions inside. Depending on your climate and crops, internal shading or fans may also be useful during warmer months.
Our guide to ventilation, fans and internal shading explains how these options work together.
-
Your tunnel needs a level site with suitable drainage and access for delivery and construction. Plan your water supply and irrigation before installation, along with electricity if you intend to use powered equipment. Uneven ground may require earthworks.
GROW Tunnels supplies installation instructions and a required-tools list. The people, equipment and experience needed depend on your chosen model and size. Ask the team about experienced installation contractors and availability in your area.
Visit our installation FAQs for more information, then contact the team to discuss your site.
-
The main tasks are watering, adjusting ventilation, checking plant health and harvesting. Because rain does not pass through the Solarweave cover, you’ll need to supply water through irrigation or hand watering.
Monitor temperature and soil moisture, adjust sidewalls or shading when needed, and check crops for pests—even with mesh in place. Periodically inspect the cover, mesh and fixings, and clear gutters if fitted.
Our seasonal tunnel preparation guide covers crop care, watering, ventilation and routine checks.
-
Tell us where you’re located, what you want to grow and how much space you have. Share your preferred growing method, budget, access requirements and when you’d like to start growing. Photos or a simple site sketch can help us understand your plans.
We can help you consider tunnel size, cover choices, ventilation, irrigation options and installation arrangements.
Contact our team for an obligation-free discussion about your growing plans, or get an instant quote if you’re ready to explore sizes and available options.