
Getting Your Polytunnel Ready for Spring Planting
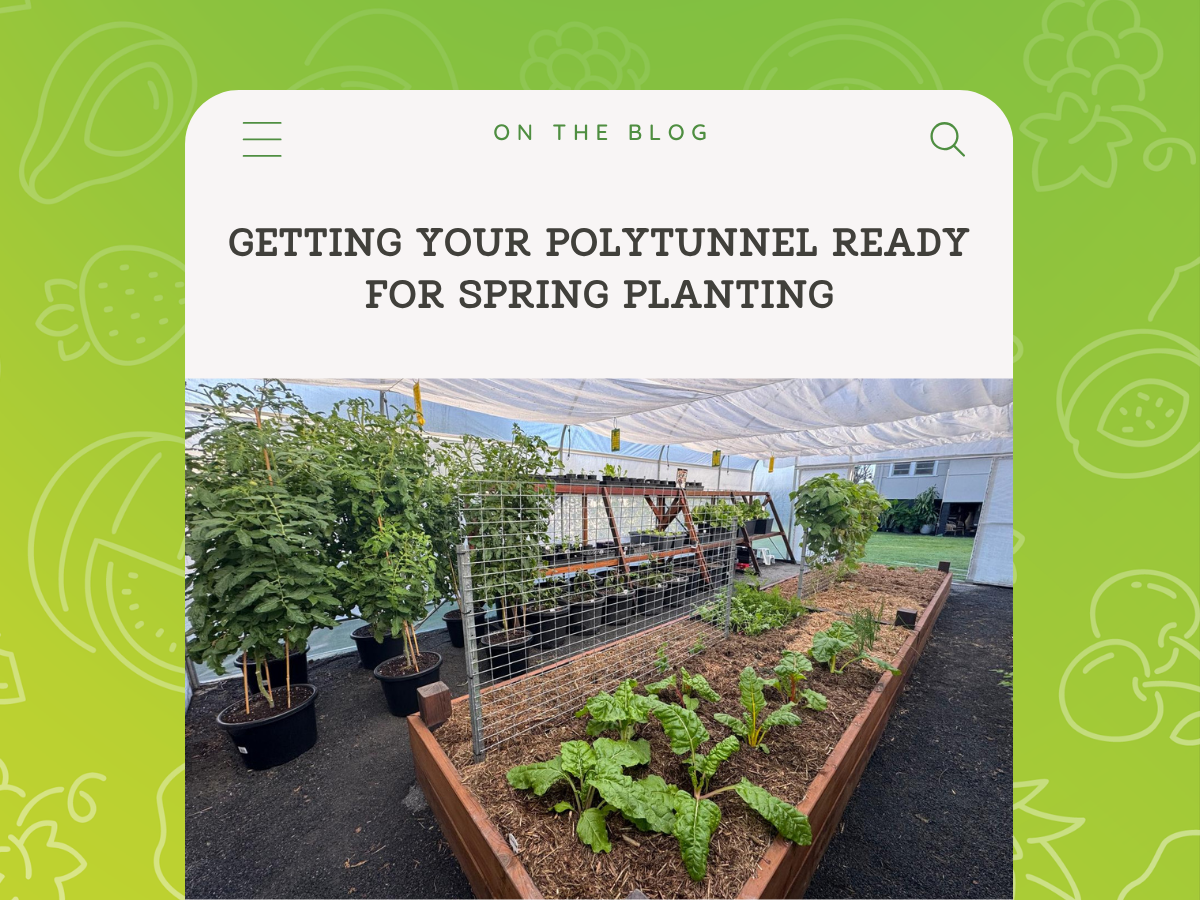
How do you prepare your polytunnel for Spring?
Before spring planting begins:
Clear out old crops and weeds so you’re starting with clean growing areas.
Refresh your soil with quality compost or well-rotted organic matter.
Check irrigation and gutters before water demand increases.
Check your cover, doors and ventilation and make any repairs before the warmer weather arrives.
Plan your spring crops before planting, including succession sowings and space for warm-season crops.
Start tender crops under protection where appropriate, but remember that planting dates will vary considerably between Australian climate zones.
A GROW Tunnel gives you greater control over your growing environment, helping protect young plants while allowing you to make an earlier, more organised start to spring.
Spring is one of the most exciting times to grow in a polytunnel. The days are getting longer, soil is beginning to warm and suddenly there’s a whole new season of planting ahead.
But before you start filling beds with seedlings, it’s worth spending a little time getting your tunnel ready.
A good spring reset can help you make better use of your growing space, keep irrigation running efficiently, improve airflow and give your new crops healthy soil to grow into.
Whether you have a backyard tunnel or a larger market garden setup, here’s how to prepare your polytunnel for spring planting in Australia.
Why should you prepare your polytunnel before spring?
It can be tempting to see the first warm days of late winter and start planting immediately. But a little preparation can make the rest of the season considerably easier.
Over winter, beds may have been continuously cropped, or potentially you let things overgrow. Irrigation lines can become blocked, weeds can creep into unused corners and organic matter will have continued to break down.
At the same time, the conditions inside your tunnel are about to change.
Increasing daylight and warmer temperatures can accelerate plant growth. Water requirements increase. Ventilation becomes more important. Pests become more active. Your winter crops may also be producing still, while your spring seedlings are ready to go into the ground.
Spring preparation is therefore about more than cleaning. It’s about setting up the growing environment you’ll need for the months ahead.
Spring cleaning for your polytunnel
It all starts with a good clear-out. Start with removing spent winter crops that are no longer producing well, along with weeds, fallen leaves, old plant material and unused pots or growing equipment.
If plants are healthy, suitable material can go into your compost system. Diseased plant material should be managed separately rather than added straight back into the growing cycle.
This is also a useful opportunity to inspect areas that are normally difficult to see when your tunnel is full. Look around bed edges, behind pots and around doors for signs of pest activity.
If some winter crops are still producing well, there’s no reason to remove everything at once. Instead, think about gradually transitioning beds from winter to spring crops. That way your tunnel remains productive while the seasons blend into each other.
How to prepare your polytunnel soil for spring
Healthy spring crops start with healthy soil. After a productive winter, your beds may benefit from additional organic matter and nutrients before the next round of planting.
Start by removing weeds and old roots where appropriate, then add good-quality compost or well-rotted manure according to the needs of your soil and planned crops. Rather than automatically adding fertiliser, consider what has been growing in the bed and what you’re planting next.
Heavy-feeding warm-season crops such as tomatoes, cucumbers and capsicums have different requirements from quick-growing leafy greens. If you’re unsure about your soil, testing its pH and nutrient levels can give you a much clearer picture of what it actually needs. This is particularly valuable for growers who use the same tunnel beds intensively year after year.
mulching & soil health for spring planting in a polytunnel
Mulch can be useful for helping retain soil moisture and suppressing weeds as temperatures rise. However, avoid piling mulch directly against plant stems and keep an eye on moisture underneath it. Your goal is consistent soil moisture rather than permanently wet soil.
Keeping irrigation flowing through spring
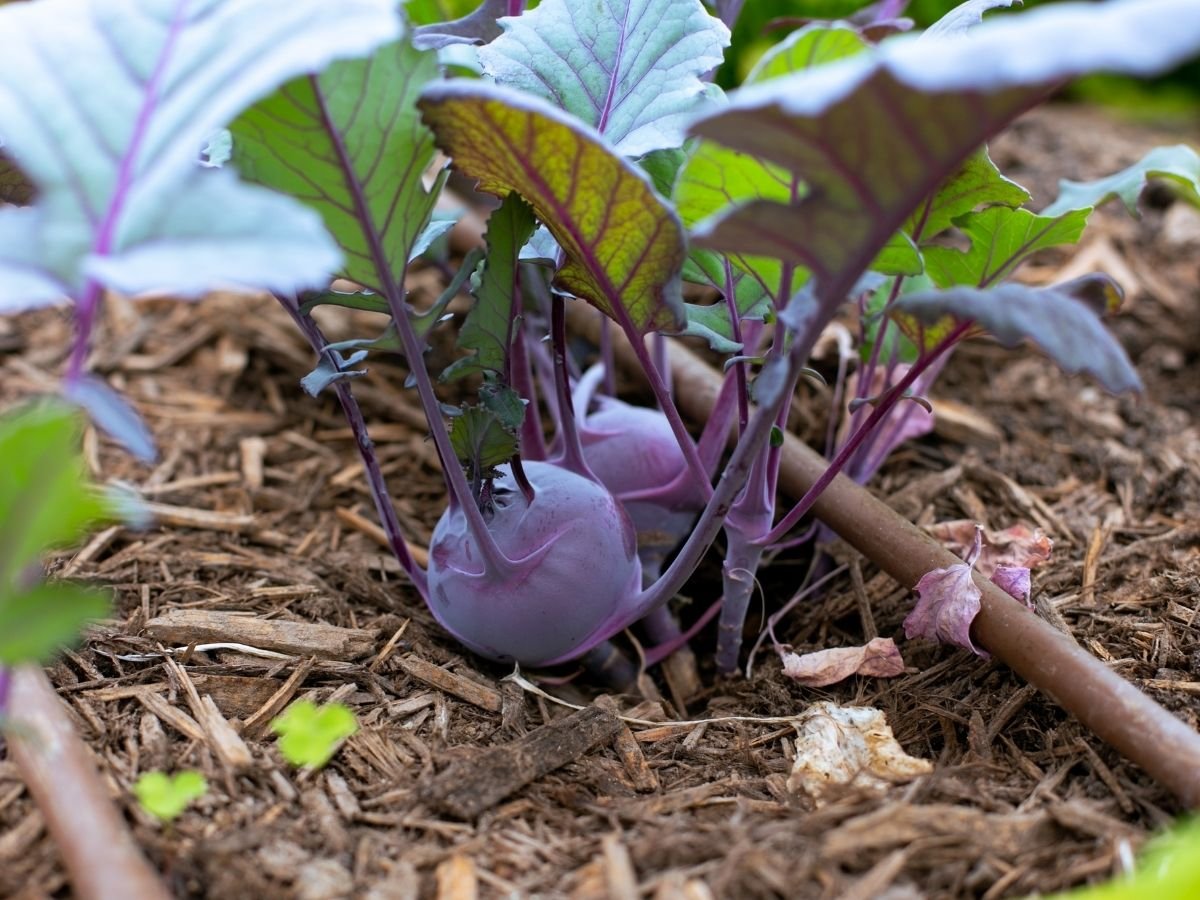
Water demand can increase quickly as spring temperatures rise and plants establish themselves. It’s a good idea to turn your irrigation system on before your beds are full and check the entire system.
Look for:
blocked drippers
leaking connections
damaged hoses
uneven water distribution
areas receiving too much or too little water.
It’s much easier to solve those problems before young seedlings are relying on the system.
Drip irrigation can be particularly useful in a tunnel because it delivers water directly around the root zone rather than unnecessarily wetting foliage.
If your tunnel collects rainwater, spring is also a good time to clean your gutters and check connections to your tank or water storage system. GROW Rural and Commercial Tunnels include galvanised steel guttering as standard, while guttering is available as an optional addition for Mini Tunnels. Capturing rainfall from the tunnel roof can form part of a more closed-loop approach to irrigation and make productive use of an otherwise lost resource.
How important is ventilation during spring?
The short answer? Very! One of the advantages of a polytunnel is its warmer, protected growing environment. As the weather changes, however, that same environment needs to be managed.
A sunny spring day can make the inside of a tunnel considerably warmer than the conditions outside. That means ventilation becomes increasingly important.
Check that doors and roll-up sides are working properly before the hotter weather arrives.
Opening sidewalls and doors allows warm air to escape and increases airflow around crops. Where insect mesh is used, you can maintain airflow while retaining an additional physical barrier between crops and many flying pests.
As spring progresses towards summer, you may also need to consider internal shade netting depending on your climate and what you’re growing.
The key is not to think of a polytunnel as a sealed environment. It’s a growing environment that you actively manage as conditions change.
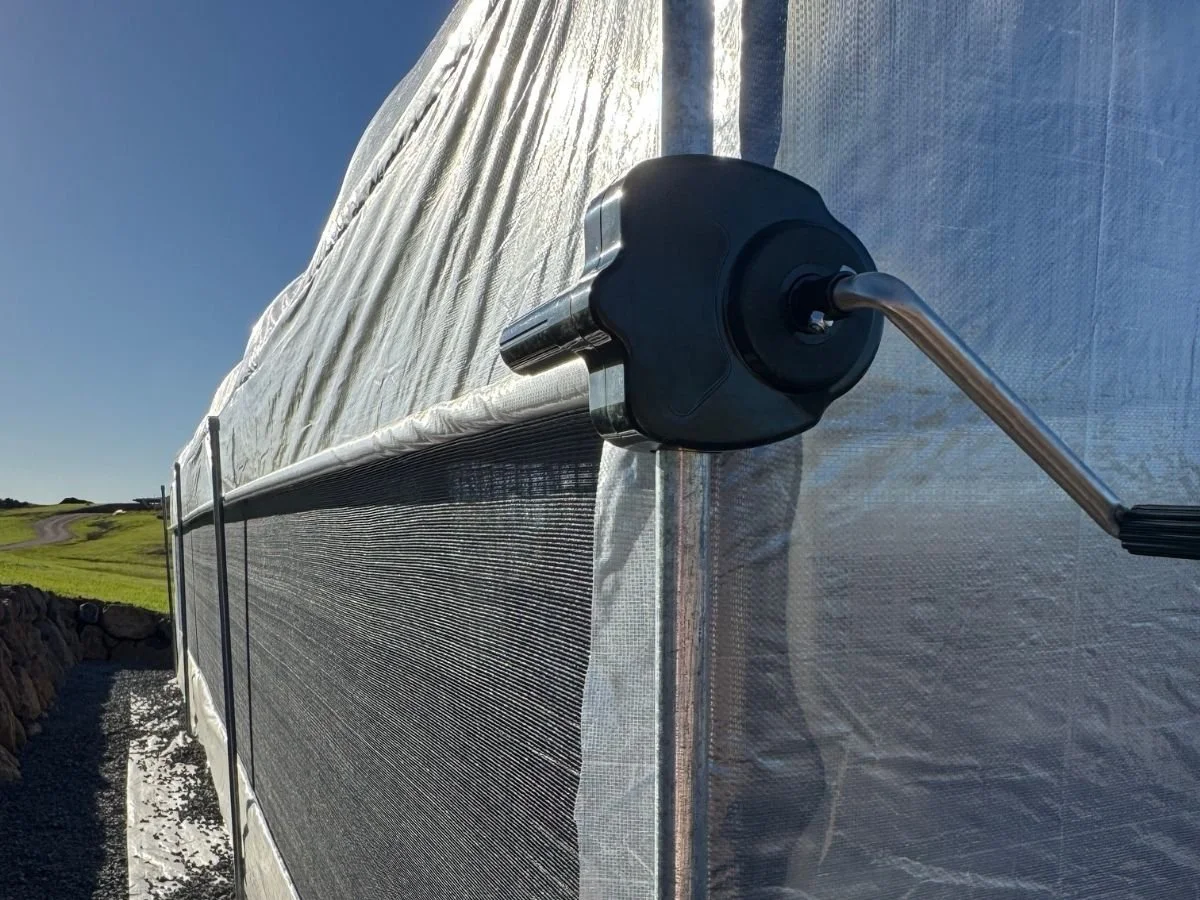
2M high roll-up side walls provide cross-ventilation. Our GROW tunnels also include internal shade or insect net doors, to provide
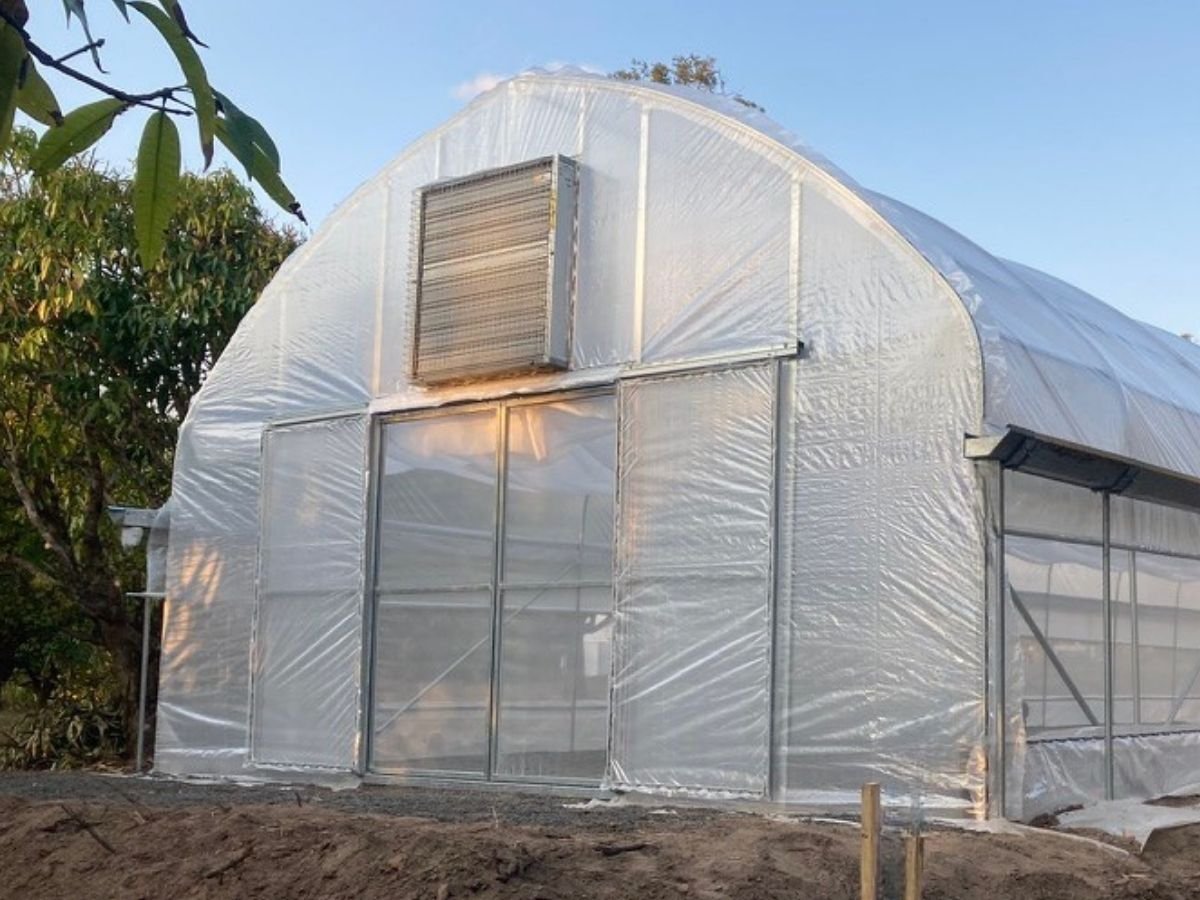
Extraction fans help exchange air between the inside and outside of your tunnel in warmer climates and can reduce humidity inside the tunnel.
What parts of the tunnel should you inspect before spring?
Spring is a useful time to walk around the entire structure and look closely at:
the tunnel cover
frame and connections
doors and tracks
sidewalls
insect or shade netting
gutters
irrigation
clipping systems.
Look for damage, loose components or areas that need maintenance. Small repairs are generally much easier to deal with before your tunnel is full of fast-growing spring crops.
GROW Tunnels use quality hot-dip galvanised steel frames and Solarweave covers. If you notice that there is any damage to your polytunnel cover, GROW Tunnels supplies both Polytunnel repair tape for when smaller tears or cosmetic damage occurs, or you can replace entire sections of your cover with our Solarweave cover materials. Looking for other replacement polytunnel parts? Check out our online shop, or get in touch.
Planning your spring polytunnel layout
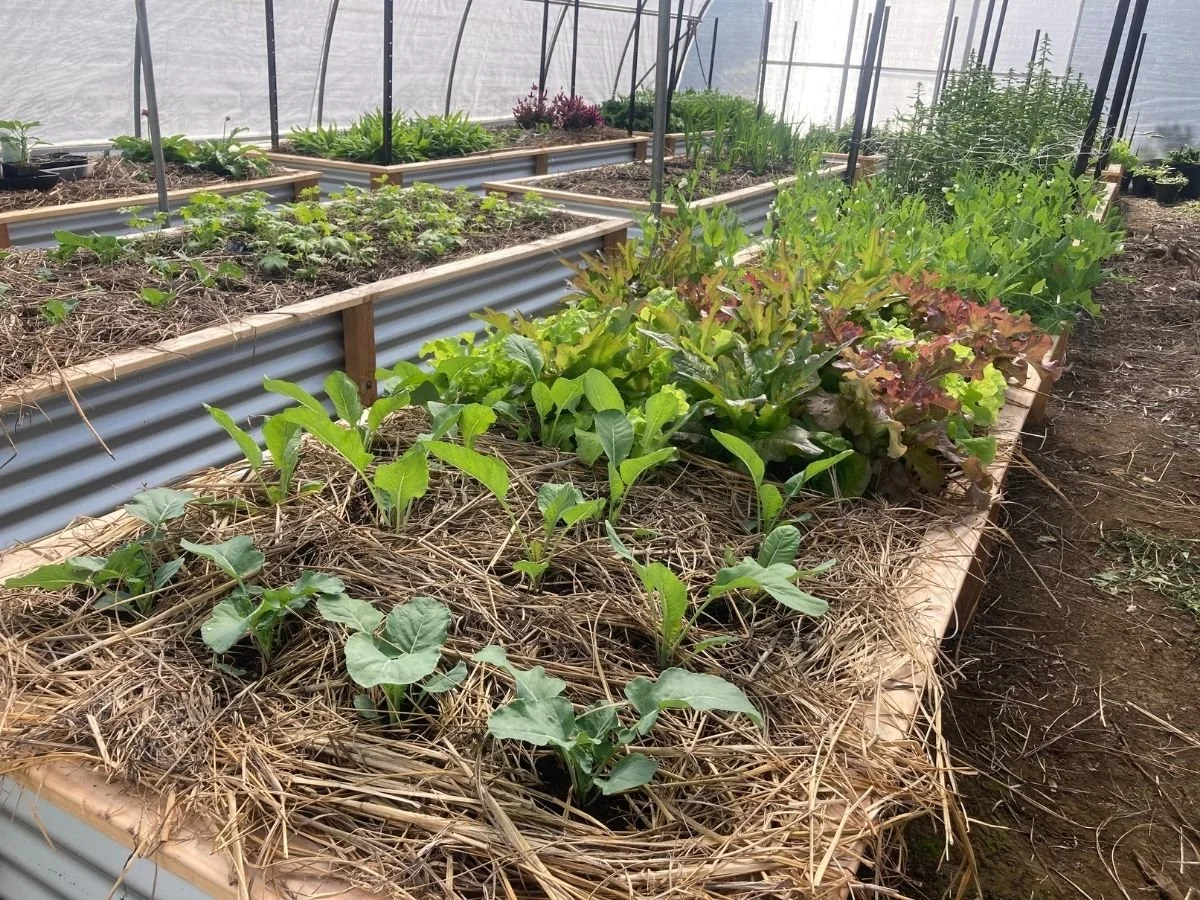
Before you plant anything, decide what needs to fit into the tunnel over the next few months.
This is particularly important in spring because your tunnel may need to accommodate several different jobs at once.
You might have:
established winter crops still producing
trays of spring seedlings
newly transplanted crops
fast-growing salad crops
tomatoes or cucumbers that will eventually need significant vertical space.
Think ahead to the mature size and recommended spacing of each crop, not just the size of the seedling going into the ground today. That tiny tomato seedling will eventually occupy considerably more space. Make sure you leave enough room for harvesting, airflow and general access between beds.
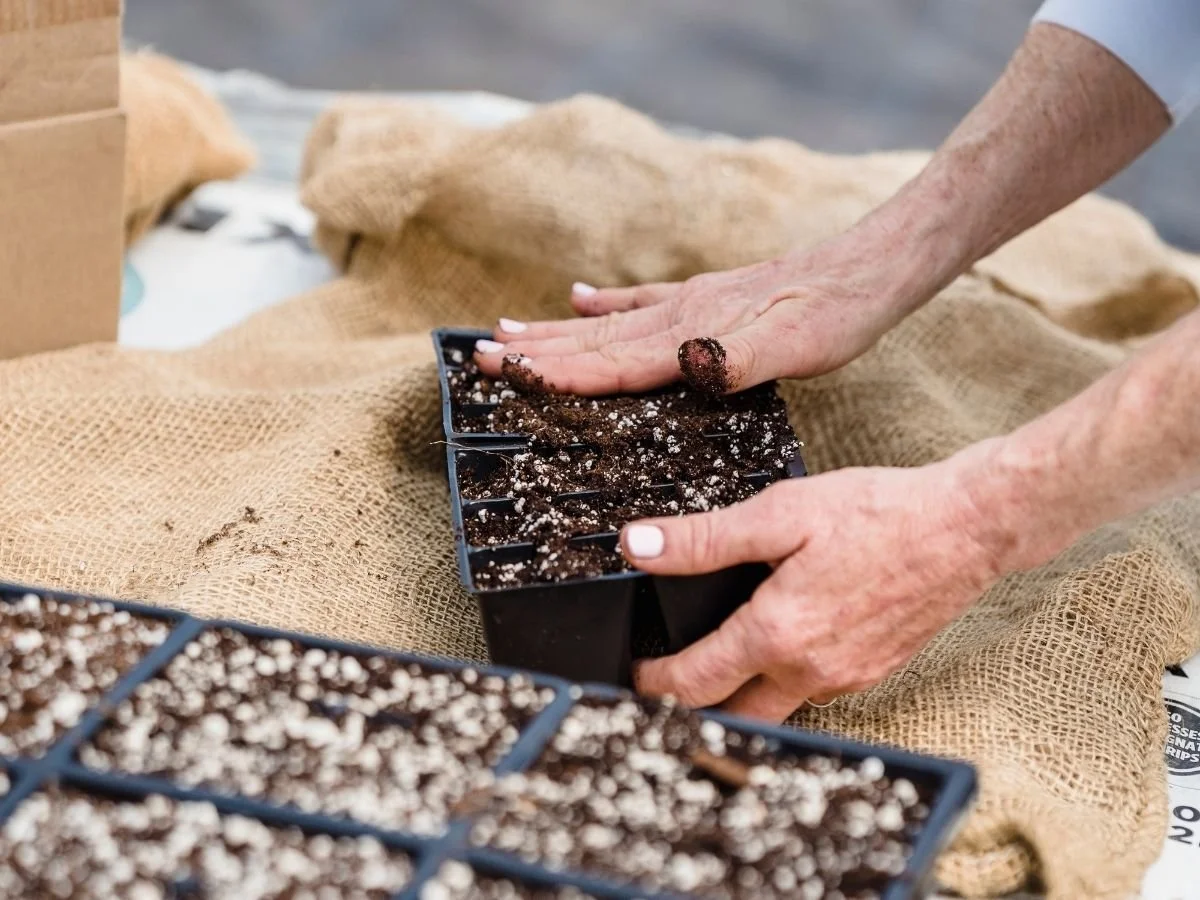
If you grow from seed, allocating a propagation area or small work table can also make succession planting much easier.
starting crops earlier in a polytunnel
One of the big advantages of protected cropping is the opportunity to get a head start on the season.
During late winter and early spring, your tunnel can continue producing cool-season crops such as leafy greens, radishes and herbs while also providing a protected space to start selected warm-season seedlings.
Depending on your local climate, these may include:
tomatoes
cucumbers
capsicums
eggplants
pumpkins
melons.
But Australian growing conditions vary enormously.
A grower in subtropical northern NSW or Queensland will work to a very different spring planting calendar from someone in Tasmania or a frost-prone inland region.
Use your local soil temperatures, overnight temperatures and frost risk, not simply the date on the calendar, to decide when tender crops are ready to be transplanted.
succession planting to improve your spring & Summer harvests
Spring doesn’t have to mean planting everything at once. In fact, for many crops, you’ll get a more useful harvest by doing the opposite. Succession planting means sowing smaller quantities at regular intervals rather than filling an entire bed with one crop on one day. For example, rather than planting 30 lettuces at once, plant a smaller batch and follow it with another sowing a couple of weeks later.
This can work particularly well for:
lettuce and salad greens
radishes
herbs
beans
peas.
For backyard growers, it helps prevent a glut of produce all becoming ready at once.
For market gardeners, succession planting can help create more predictable harvest windows.
How TO manage spring pests inside a polytunnel
The insect mesh or shade net side walls of your GROW Tunnel provide a useful layer of protection while still allowing ventilation through the tunnel. Whilst these provide a physical barrier against many pests, it won’t mean your tunnel will always be a completely pest-free environment.
As temperatures increase, start checking crops regularly. Aphids, caterpillars, slugs and snails can all become more active during spring. Good airflow, crop spacing, healthy soil and regular observation are some of your best tools.
Catching a small problem early is generally much easier than dealing with it once it has spread through an entire bed.
Why spring is the best time to start growing in a polytunnel
Spring really is a great time to get out in the garden. Temperatures are mild for both you, and your budding crops.
One of the main benefits of growing in the enclosed environment of a GROW tunnel, is being able to extend your growing season; planting earlier in late winter / early spring and extending your growing capacity as the autumn cools into winter.
A well-managed tunnel gives you a protected space for seedlings, helps reduce exposure to unpredictable rain, wind and late cold snaps, and gives you more control over water, airflow and growing conditions.
That can mean an earlier start to warm-season crops and a longer transition out of your winter growing season.
And if you’re planning a new tunnel rather than preparing an existing one, getting organised before peak spring growth gives you more time to think carefully about size, location, growing methods and irrigation.

Frequently Asked Questions
-
Late winter is a useful time to begin. Start cleaning, repairing, refreshing beds and planning crops before temperatures rise significantly and your spring planting schedule becomes busy.
-
Not routinely. Established beds can generally be maintained by managing soil health and adding appropriate organic matter and nutrients. Topping up garden beds, pots or top-soiling ground-based beds before spring planting will help maximise nutrients for your crops as they grow.
Soil testing can also help determine what your particular beds need.
-
A protected tunnel can provide a useful environment for starting tomatoes before outdoor conditions are suitable, but timing depends on your climate. Tomatoes remain sensitive to cold, so local overnight temperatures and frost risk should guide transplanting.
-
They can become warm quickly on sunny days. Good ventilation through doors and roll-up sides is important. As temperatures increase towards summer, you may consider adding internal shade net or an extraction fan, depending on your growing climate and location.
-
The roof of a GROW Tunnel is a solid cover, called Solarweave. This does not allow any rainfall inside the polytunnel. Therefore, having a reliable watering method, such as drip irrigation or easy-to-access hose systems for hand watering, will allow you to efficiently water your crops.
-
Yes. Guttering allows rainfall from the tunnel roof to be directed towards water storage and potentially reused for irrigation. Gutters are included with GROW Rural and Commercial models and available as an optional add-on for Mini models.
Get Ready to Grow This Spring
A productive spring doesn’t start when you put the first seedling into the ground. It starts with preparation.
Healthy soil, reliable irrigation, good airflow and a clear planting plan will give you a much better foundation for the busy growing months ahead.
If this is the spring you’re planning to move from outdoor growing into protected cropping, we can help you work through the practical decisions, from where to position your tunnel to which size will suit the way you want to grow.
Chat with our friendly team today.